Crochet
Crochet Crew-Neck Cardigan Pattern for Adults
A readable US-terms crochet cardigan pattern in sizes XS–5X, with gauge, finished measurements, yardage, stitch counts, fit adjustments, assembly instructions, and realistic process images.
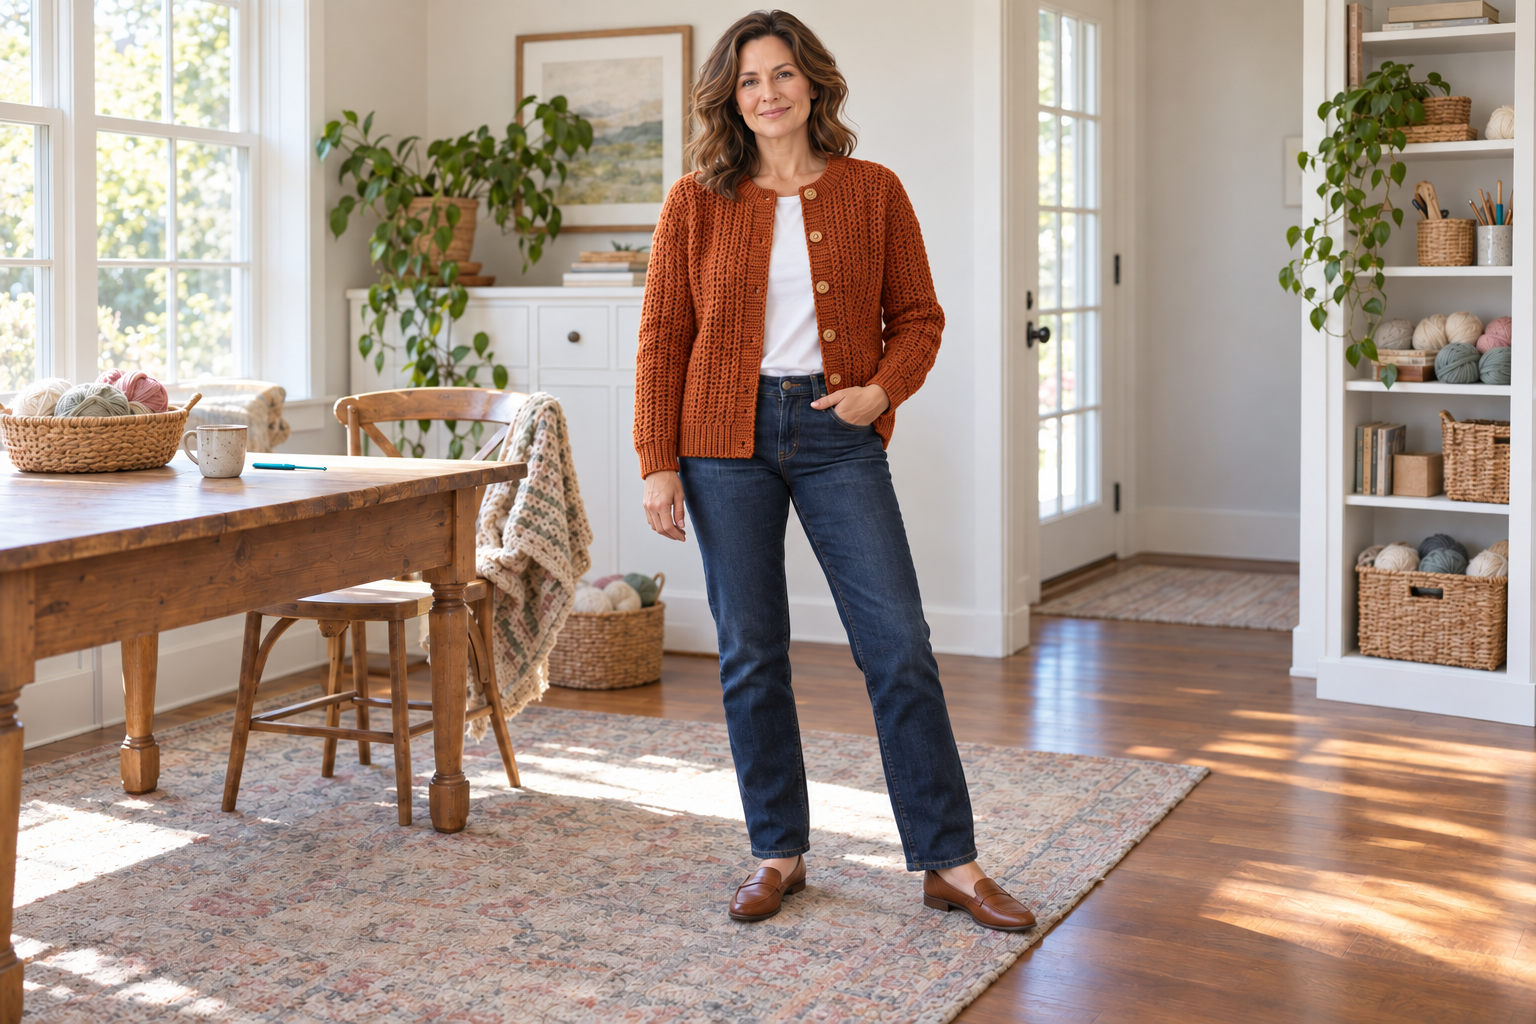
Crochet crew-neck cardigan pattern at a glance
- Skill level: confident beginner to intermediate
- US sizes: XS (S, M, L, XL, 2X, 3X, 4X, 5X)
- Construction: drop-shoulder pieces seamed at the shoulders and sides
- Yarn: medium weight #4
- Terminology: US crochet terms
This crochet crew-neck cardigan pattern creates a useful layer that works with clothes you already wear. It has a clean neckline, a straight body, full-length sleeves, and a simple button band. The shape looks polished over a T-shirt or blouse without becoming fussy, making it useful for workdays, travel, dinners, and ordinary weekends.
The pattern uses half double crochet for a fabric that feels substantial without becoming stiff. It is written in nine adult sizes with finished measurements, yardage estimates, and adjustment notes. Read the sizing and gauge sections before choosing a size. This pattern has not been independently tech-edited, so keep notes as you work and check each piece against the measurements.
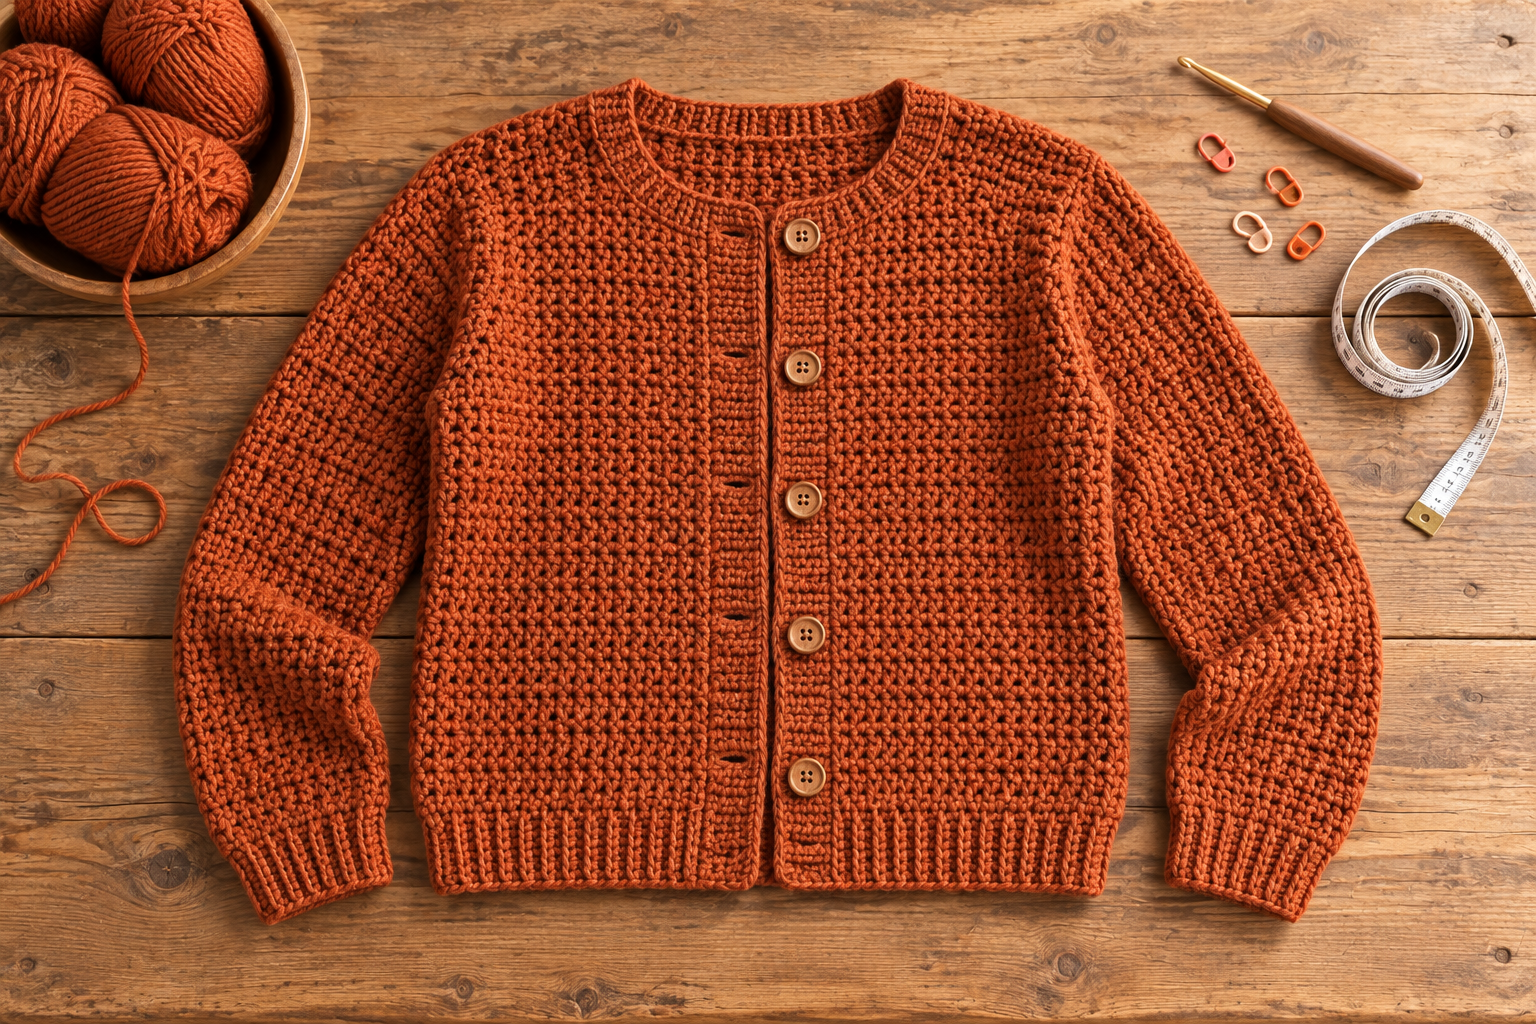
Materials
- Medium weight #4 yarn: approximately 1,100 (1,250, 1,400, 1,550, 1,700, 1,850, 2,000, 2,150, 2,300) yards
- US H/8 (5 mm) crochet hook, or the size needed to meet gauge
- Five 3/4-inch buttons
- Locking stitch markers
- Tapestry needle
- Scissors and flexible measuring tape
Choose a smooth yarn with good stitch definition. Wool blends provide warmth and resilience, while washable acrylic or cotton blends can make care simpler. Buy all skeins from the same dye lot when possible.
Check the Craft Yarn Council yarn-weight guide when substituting yarn, and browse more outfit ideas for ways to wear the finished cardigan.
US crochet abbreviations
- ch: chain
- sc: single crochet
- hdc: half double crochet
- hdc2tog: half double crochet two stitches together
- st(s): stitch(es)
- RS / WS: right side / wrong side
- rep: repeat
The turning chain does not count as a stitch unless the instruction says otherwise.
Sizes and finished measurements
Choose a size by finished bust measurement, not by the size name alone. The cardigan is designed with approximately 4 to 6 inches of positive ease. Measure a cardigan you already like and compare that garment with the table.
| Size | Finished bust | Back width | Finished length |
|---|---|---|---|
| XS | 36 in | 18 in | 21 in |
| S | 40 in | 20 in | 22 in |
| M | 44 in | 22 in | 22 in |
| L | 48 in | 24 in | 23 in |
| XL | 52 in | 26 in | 23 in |
| 2X | 56 in | 28 in | 24 in |
| 3X | 60 in | 30 in | 24 in |
| 4X | 64 in | 32 in | 25 in |
| 5X | 68 in | 34 in | 25 in |
If your measurements fall between sizes, decide where you want more room. A larger size gives more layering space through the body. A smaller size creates a closer fit for wearing over lightweight tops.
Gauge and fit
14 hdc and 11 rows = 4 inches after blocking.
Make a swatch at least 6 inches square. Wash and dry it the way you plan to care for the cardigan, then measure the center. If you have more than 14 stitches in 4 inches, use a larger hook. If you have fewer, use a smaller hook. Row gauge controls length, so measure as you work instead of relying only on row counts.
The cardigan uses drop shoulders. The shoulder seam sits below the natural shoulder and the sleeve joins to a straight armhole. This keeps the construction approachable and makes sleeve length easy to adjust.
Back panel
Foundation row: Work 63 (70, 77, 84, 91, 98, 105, 112, 119) foundation hdc. Turn.
Row 1: Ch 1, hdc in each st across. Turn.
Repeat Row 1 until the panel measures 21 (22, 22, 23, 23, 24, 24, 25, 25) inches from the lower edge. End after a WS row. Fasten off, leaving a long tail for seaming.
Check the panel width before continuing. It should measure approximately 18 (20, 22, 24, 26, 28, 30, 32, 34) inches after blocking.
Front panels
Make two panels. Work the second as a mirror image so the neckline shaping sits at the center front.
Left front
Foundation row: Work 32 (35, 39, 42, 46, 49, 53, 56, 60) foundation hdc. Turn.
Body rows: Ch 1, hdc in each st across. Turn. Continue until the panel is 3 inches shorter than the finished back panel.
Neck shaping: At the neck edge, hdc2tog once on the next 6 (7, 7, 8, 8, 9, 9, 10, 10) rows. Work even until the front matches the back length. Fasten off.
Right front
Work as for the left front, placing every neckline decrease at the opposite edge. Lay both fronts beside each other before assembly. The shaped edges should face inward and form a balanced crew neckline.
Sleeves
Make two.
Foundation row: Work 30 (31, 32, 33, 34, 35, 36, 37, 38) foundation hdc. Turn.
Row 1: Ch 1, hdc in each st across. Turn.
Increase row: Ch 1, 2 hdc in first st, hdc across to last st, 2 hdc in last st. Turn. Two stitches increased.
Repeat the increase row every fourth row until you have 49 (53, 56, 60, 63, 67, 70, 74, 77) stitches. Then work even until the sleeve measures approximately 18 inches, or your preferred underarm-to-cuff length. Fasten off with a long seaming tail.
For a cleaner cuff, work three final rows of sc with a hook one size smaller. Skip this step if you prefer the hdc texture to continue to the edge.
Assembly and button band
- Block the pieces. Bring every panel to the measurements in the size table without stretching the fabric beyond its natural shape.
- Join the shoulders. With RS together, seam each front to the back. Leave the center back unseamed for the neckline.
- Attach the sleeves. Mark the center of each sleeve top and match it to the shoulder seam. Pin the sleeve evenly across the front and back, then seam it in place.
- Close the sides. Fold the cardigan at the shoulders. Seam from cuff to underarm and continue down the side to the lower hem.
Button band and crew neckline
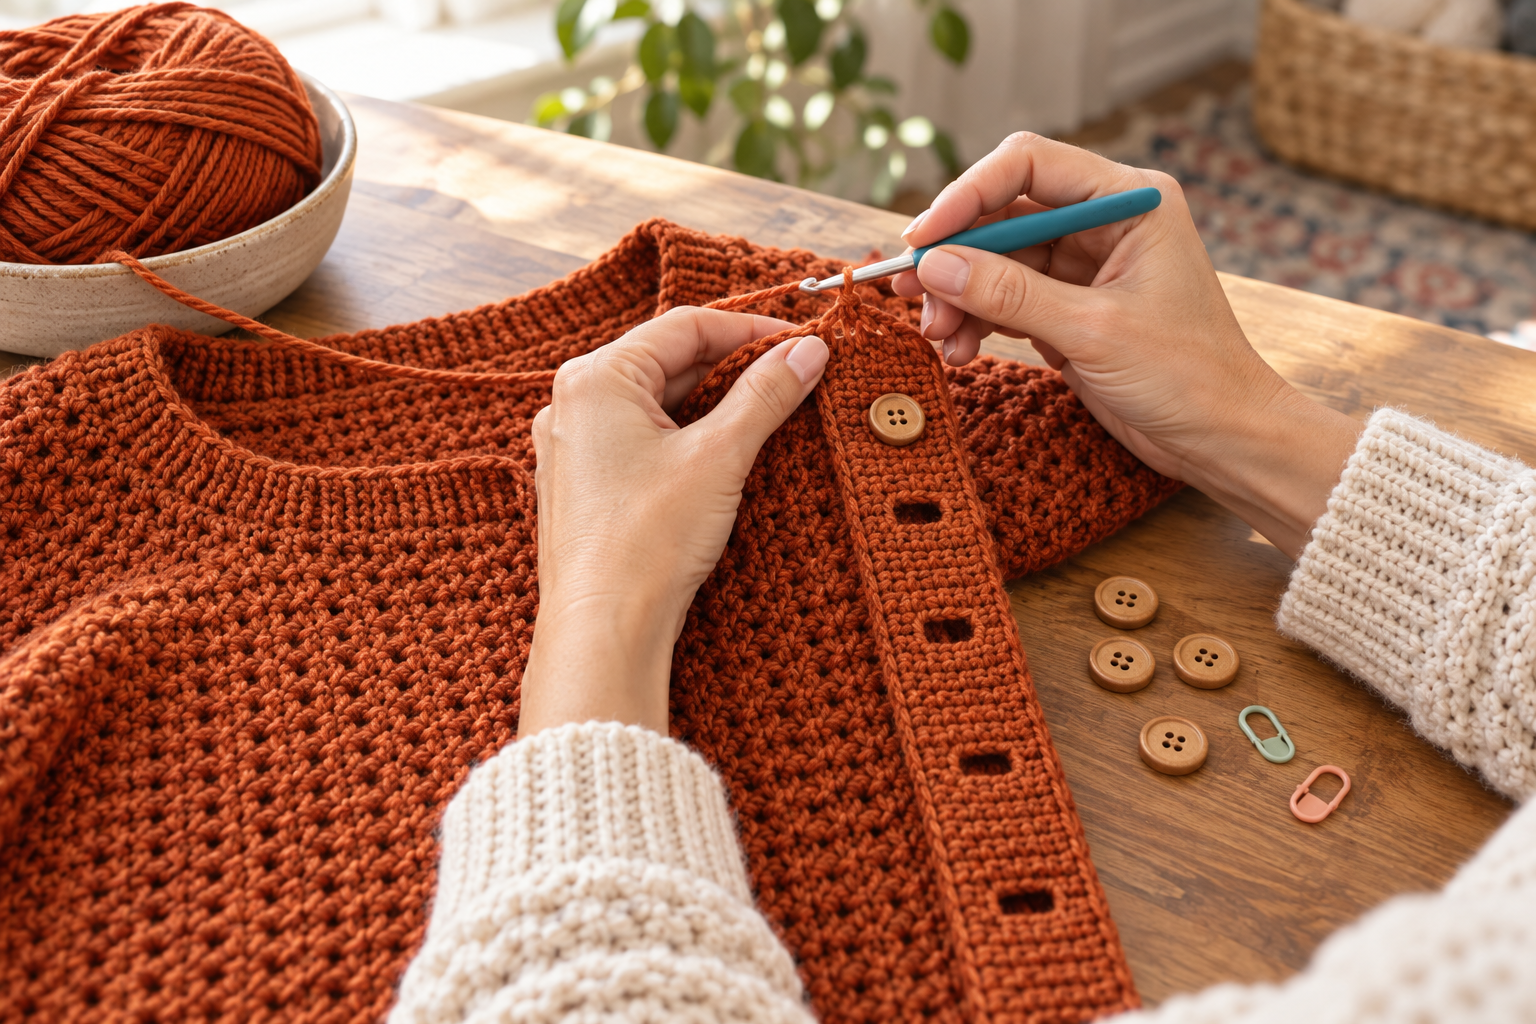
With the RS facing, join yarn at the lower right front. Work sc evenly up the right front, around the shaped neckline and back neck, and down the left front. Aim for a flat edge: too many stitches create waves, while too few make the band pull.
Work five rows of sc. On Row 3, place five evenly spaced buttonholes on the right front by working ch 2 and skipping 2 stitches at each marked position. On the following row, work 2 sc into each ch-2 space. Fasten off after Row 5.
Sew the buttons to the left front opposite the buttonholes. Reinforce each button with several secure passes through the fabric.
Easy fit adjustments
- More or less length: add or remove body rows before beginning the neckline shaping.
- Different sleeve length: measure from the dropped shoulder point to your preferred cuff position and adjust the straight rows.
- A firmer band: use a hook one size smaller for the button band.
- More layering room: choose the finished bust that gives at least 6 inches of ease over the fullest garment you plan to wear underneath.
- A closer shape: choose approximately 2 to 4 inches of ease and confirm that the fronts still meet comfortably when buttoned.
Blocking and care
Follow the yarn label. For washable yarn, use cool water and mild detergent, support the cardigan when lifting it, and dry it flat. Smooth the button band and neckline into shape while damp. Store the cardigan folded so the weight does not stretch the shoulders.
How to wear the finished cardigan
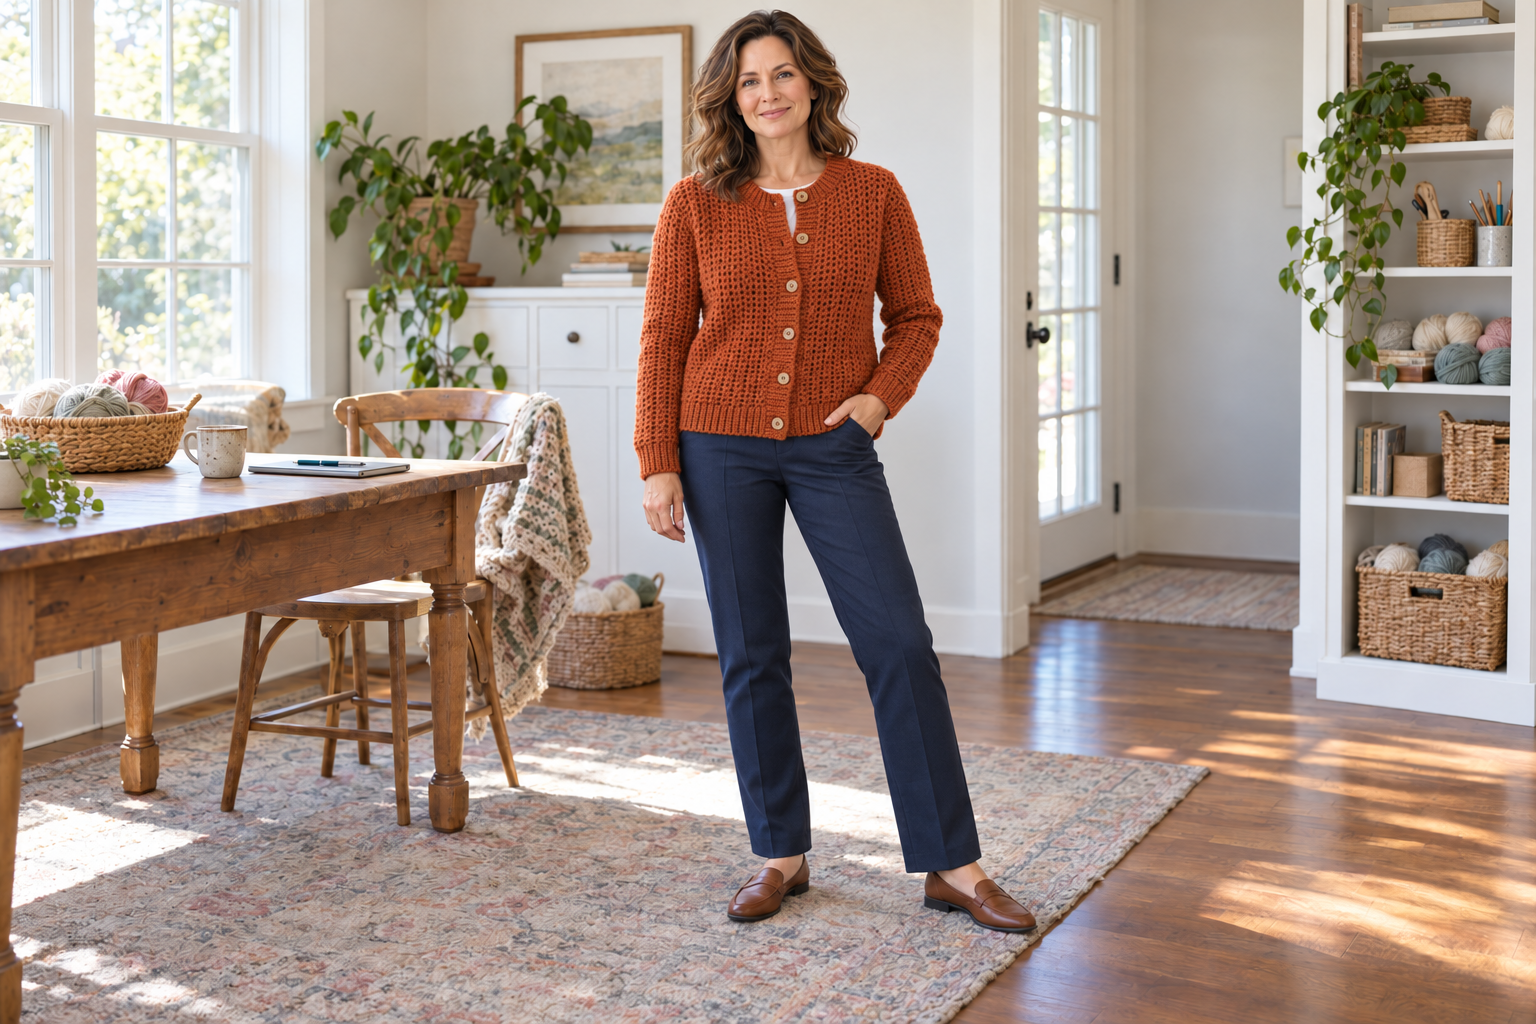
The burnt-orange sample adds warmth while remaining easy to combine with wardrobe basics. For work, button the center buttons over a cotton tee and add navy trousers with loafers. On weekends, wear it open with denim and walking shoes. Navy, charcoal, oatmeal, or forest green yarn gives the same pattern a quieter finish.
Crochet crew-neck cardigan FAQ
Is this cardigan suitable for a beginner?
It suits a confident beginner who can maintain gauge, increase, decrease, seam pieces, and pick up stitches evenly. Make a swatch and read the assembly section before starting.
Can I substitute another yarn?
Yes. Choose a medium weight #4 yarn that meets the blocked gauge and produces fabric you like. Compare fiber care, drape, and total yardage before buying.
How much positive ease should I choose?
Four to six inches gives a comfortable everyday fit with room for a light layer. Choose less ease for a closer cardigan or more ease for heavier layers.
Can I make the cardigan without buttons?
Yes. Work the same five-row front band without buttonholes and wear it open. You can also use one decorative closure near the upper chest.
Printable crochet pattern reference
Save or print this section for a quick reference while you work. All measurements use US crochet terms and inches.
Stitch key
| Abbreviation | US stitch | How it is used |
|---|---|---|
| ch | chain | Turning and buttonholes |
| sc | single crochet | Button band, neckline, and optional cuffs |
| hdc | half double crochet | Main cardigan fabric |
| hdc2tog | half double crochet two together | Front neckline shaping |
Cardigan construction map
Neck shaping at center edge
Work straight to finished length
Mirror left-front shaping
Block pieces → join shoulders → attach sleeves → seam sleeves and sides → crochet neckline and button band.
Size, stitch count, and yarn chart
| Size | Finished bust | Back foundation hdc | Each front foundation hdc | Approx. yarn |
|---|---|---|---|---|
| XS | 36 in | 63 | 32 | 1,100 yd |
| S | 40 in | 70 | 35 | 1,250 yd |
| M | 44 in | 77 | 39 | 1,400 yd |
| L | 48 in | 84 | 42 | 1,550 yd |
| XL | 52 in | 91 | 46 | 1,700 yd |
| 2X | 56 in | 98 | 49 | 1,850 yd |
| 3X | 60 in | 105 | 53 | 2,000 yd |
| 4X | 64 in | 112 | 56 | 2,150 yd |
| 5X | 68 in | 119 | 60 | 2,300 yd |
Before you begin
- Gauge: 14 hdc and 11 rows = 4 inches after blocking.
- Ease: choose a finished bust 4–6 inches larger than the fullest garment worn underneath.
- Yarn: buy a little extra when changing length, adding pockets, or matching stripes.
- Check: measure each blocked piece against the size chart before seaming.
Save this crochet cardigan pattern
Keep the measurements and instructions handy by saving this pattern to your crochet board on Pinterest.

Image provenance: the featured outfit image is AI-generated for The Outfit Compass. Pattern measurements should be checked against your blocked gauge before assembly.
More ideas you’ll love
Beginner Crochet Hexi-Cardi Pattern: Both Sides Now
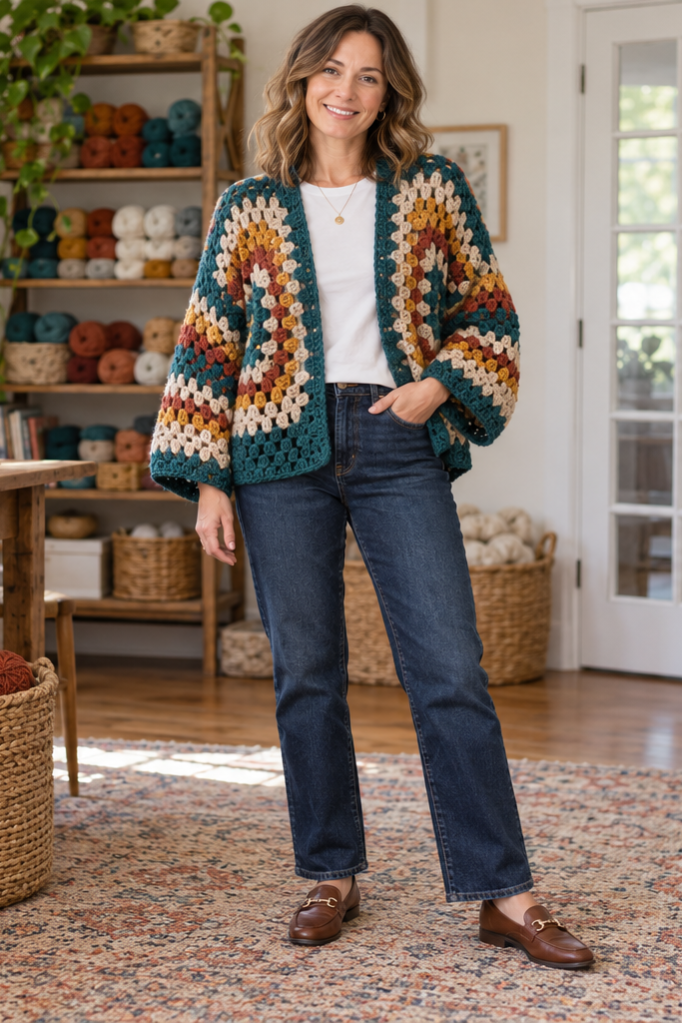
Make the Both Sides Now hexi-cardi with two granny-stitch hexagons. This beginner US-terms pattern includes sizes XS–5X, gauge,…
Outfit Ideas by Garment
Outfit ideas organized by garment, with complete guides for blazers, wide-leg jeans, and knitwear layering plus practical advice…

10 Chunky Loafer Outfit Ideas for Fall
Ten practical fall outfits built around chunky loafers, with clear advice on denim hems, socks, layered knits, skirts,…